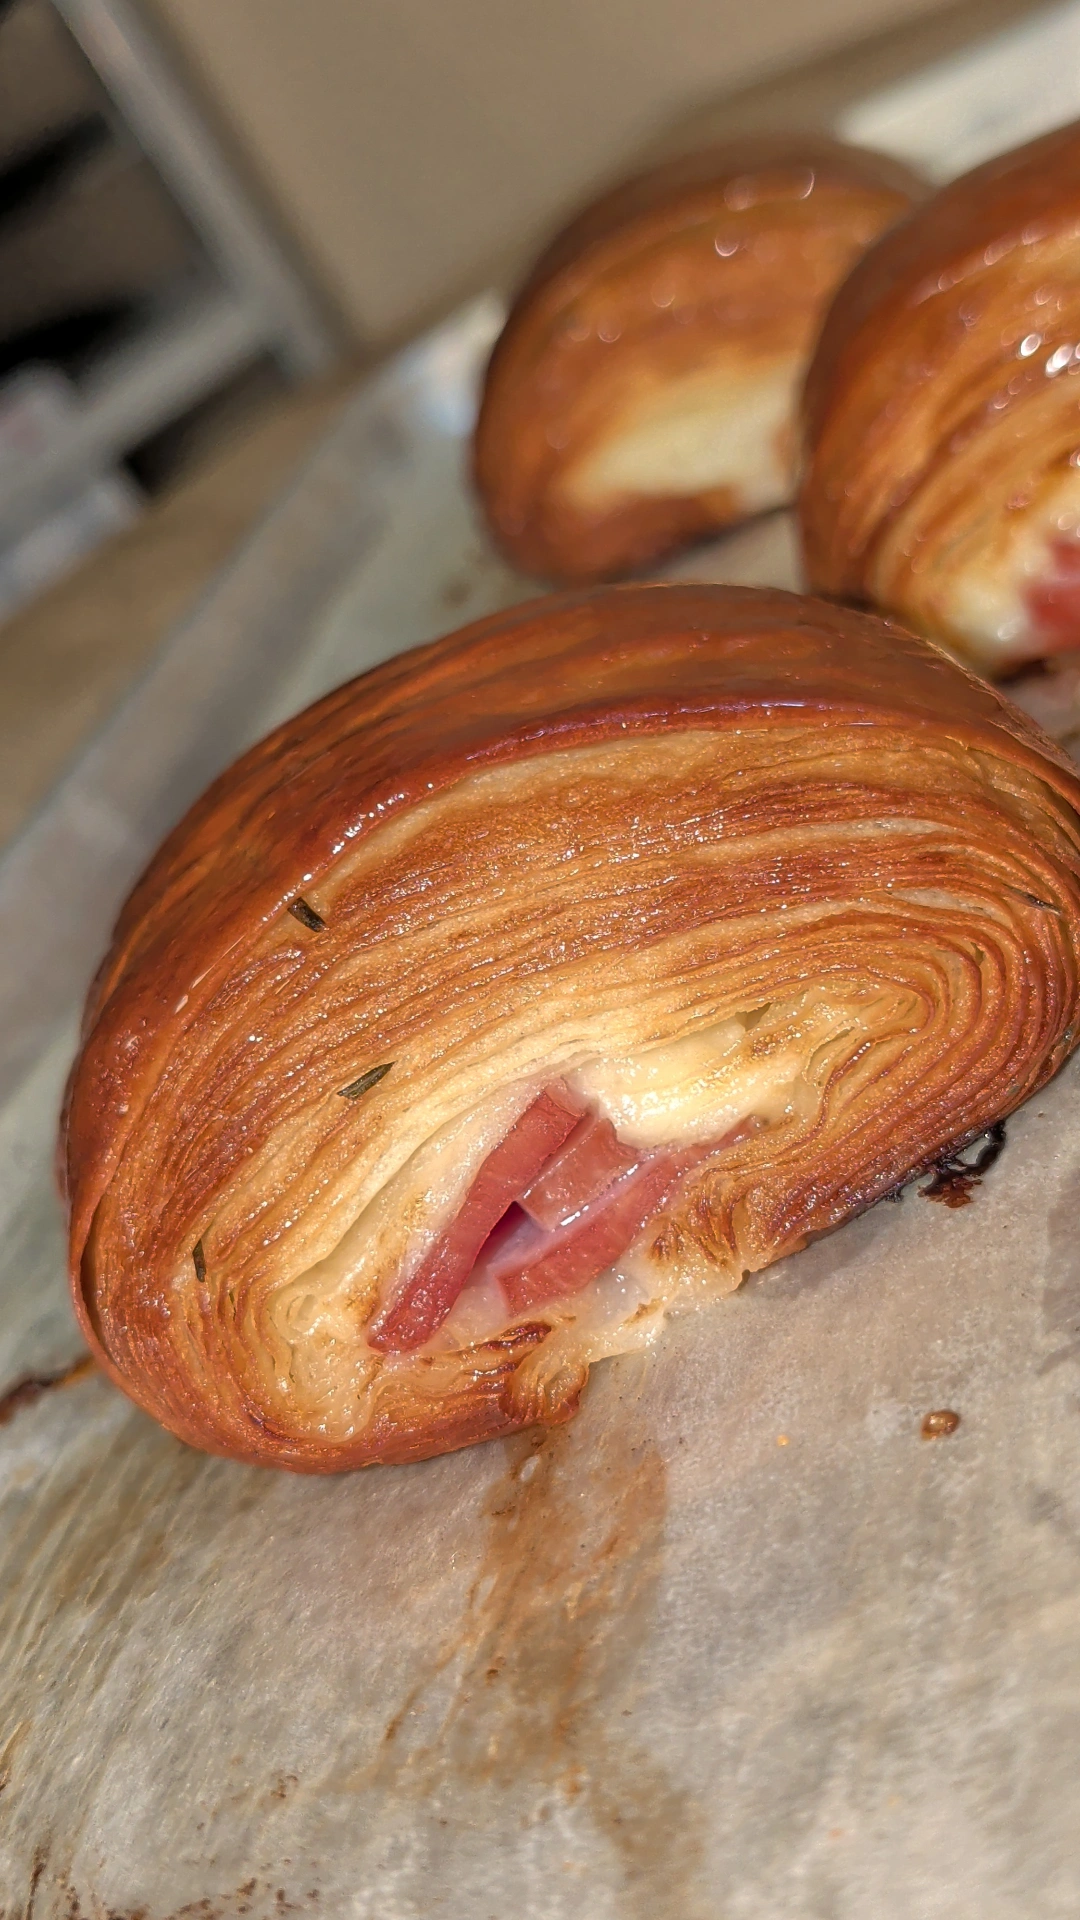
Yield: 1 x Laminated Dough Block
| Ingredients | Amount | Notes |
|---|---|---|
| Whole Milk | 570g | |
| Cold Butter | 70g | |
| Granulated Sugar | 170g | |
| Yeast (Instant) | 52g | |
| Bread Flour | 1125g | |
| Salt | 18g | |
| Butter Block | ||
| Unsalted Butter | 500g | |
| AP Flour | 30g | Optional |
Procedure:
- Before we start, a 1x of this recipe will not fit in a KitchenAid. Divide everything in half, and then continue. Combine the dough ingredients, in order, in the bowl of a mixer. Mix this on a low speed for 5 minutes, then a slightly faster speed for an additional 10 minutes. (Warning you now, KitchenAids’ were not meant for tough dough, proceed at your own risk)
- Place your mixed-dough into a greased bowl and cover it air-tight. Allow it to proof at room temperature until about double the size, then place it in the fridge til the following day. Not an optional step.
- You have the option to pull 300g of dough from the initial amount, and set it aside for the Bi-Color lamination (the darker layer on the tops of croissants). If you made 1/2 the dough then 150g. You can color this dough any which way you want or leave it plain, it’ll still give the effect.
- For a 1x dough batch, use a 500 gram butter block at roughly 30 cm x 30 cm. If you had to divide the dough in half, do a 250g butter block at 30 cm x 15 cm.
- Once your butter block has been encased in dough, I do one “Book” fold, then 1 “Letter” fold. Stretch my bi-color dough over the top, and sheet it out to the final thickness (~6 mm).
- I do my encasing, book fold, and letter fold, before placing the dough back in the fridge for 20-30 minutes before the final sheeting.
- Spraying or brushing a very small amount of water on the dough before each fold will help the dough stick to itself better, and give you better lamination.
- Pain Au Chocolat – 9cm x 15cm
- Croissant – 9 cm x 28cm
- Danishes – 9 cm x 9cm
Special Instructions / notes
As you can see, you have the option of incorporating a small amount of flour into your butter block. The flour is not essential, but it will act as a plasticizer and make your butter less likely to shatter if the temperature is improperly controlled. I mix the 500 grams of butter with the flour on the lowest speed in a mixer, just to evenly incorporate, and nothing more.
“Thwacking” the butter before laminating it into the dough has worked the best for me. This is the action you see people doing where they gently beat their butter blocks with a rolling pin from side to side. I pull my butter from the fridge 15 minutes before laminating, give it a light thwacking, and bend the block between my fingers to make sure it won’t shatter. If your butter cracks, it needs a better beating.
If you’re familiar with bread making then this dough might seem like something is deathly wrong to begin with. It is a VERY stiff dough, but refrain from adding additional liquid because we need the dough to be this sturdy to hold the weight of our product, and butter, once it has undergone the proofing. If you make a “nicer” dough, your croissants will come out flat because it needs that rigidity.